



LinenFinder LeadFlow - Contacts Import Guide

Overview
This guide will walk you step by step through how to complete your Contacts Import file to be uploaded to LinenFinder LeadFlow and includes the Contacts Import Excel template.
If you’re interested in LinenFinder LeadFlow, please contact your dedicated Client Success Manager (CSM).
Steps
Open the Contacts Import Excel file attached at the bottom of this article.
This template may have also been sent to your email by your CSM.
You’ll see several columns labeled A through L. Each column is explained below.
Tips:
- Only Column A and Column B are required. All other fields can be left blank if you don’t have the information.
- Every row must include values in Column A and Column B.
-
Do not add extra columns or remove existing ones.
-
Leave grayed-out cells blank.
Required Fields
Column A – Name
- Enter either:
- The company name, or
- The individual person’s name
Column B – Company or Person
- Enter 0 if the contact is a person
- Enter 1 if the contact is a company
Optional Fields
Column C - Company Name
- Complete this only when Column B = 0 (person)
- Enter the company the person is associated with
- If Column B = 1 (company), this field will be automatically grayed out and should remain empty
Column D - Country
- Enter either:
- The 2-letter country code (example: US, CA), or
- The full country name
Column E – State
- The full state name
Column F – Zip Code
- Enter the postal or zip code
Column G – City
- Enter the city name
Column H – Street Address
- Enter the primary street address
Column I – Address Line 2
- Use this for suite, unit, floor, or other additional address details
Column J – Phone Number
- Enter the main phone number
Column K – Mobile Number
- Enter a mobile or cell phone number
Column L – Email Address
- Enter the email address for the contact
Completing the Process
When finished:
- Review the entries for accuracy.
- Save the Excel file.
- Upload the file using the contact import process outlined below.
Importing Contacts to LeadFlow
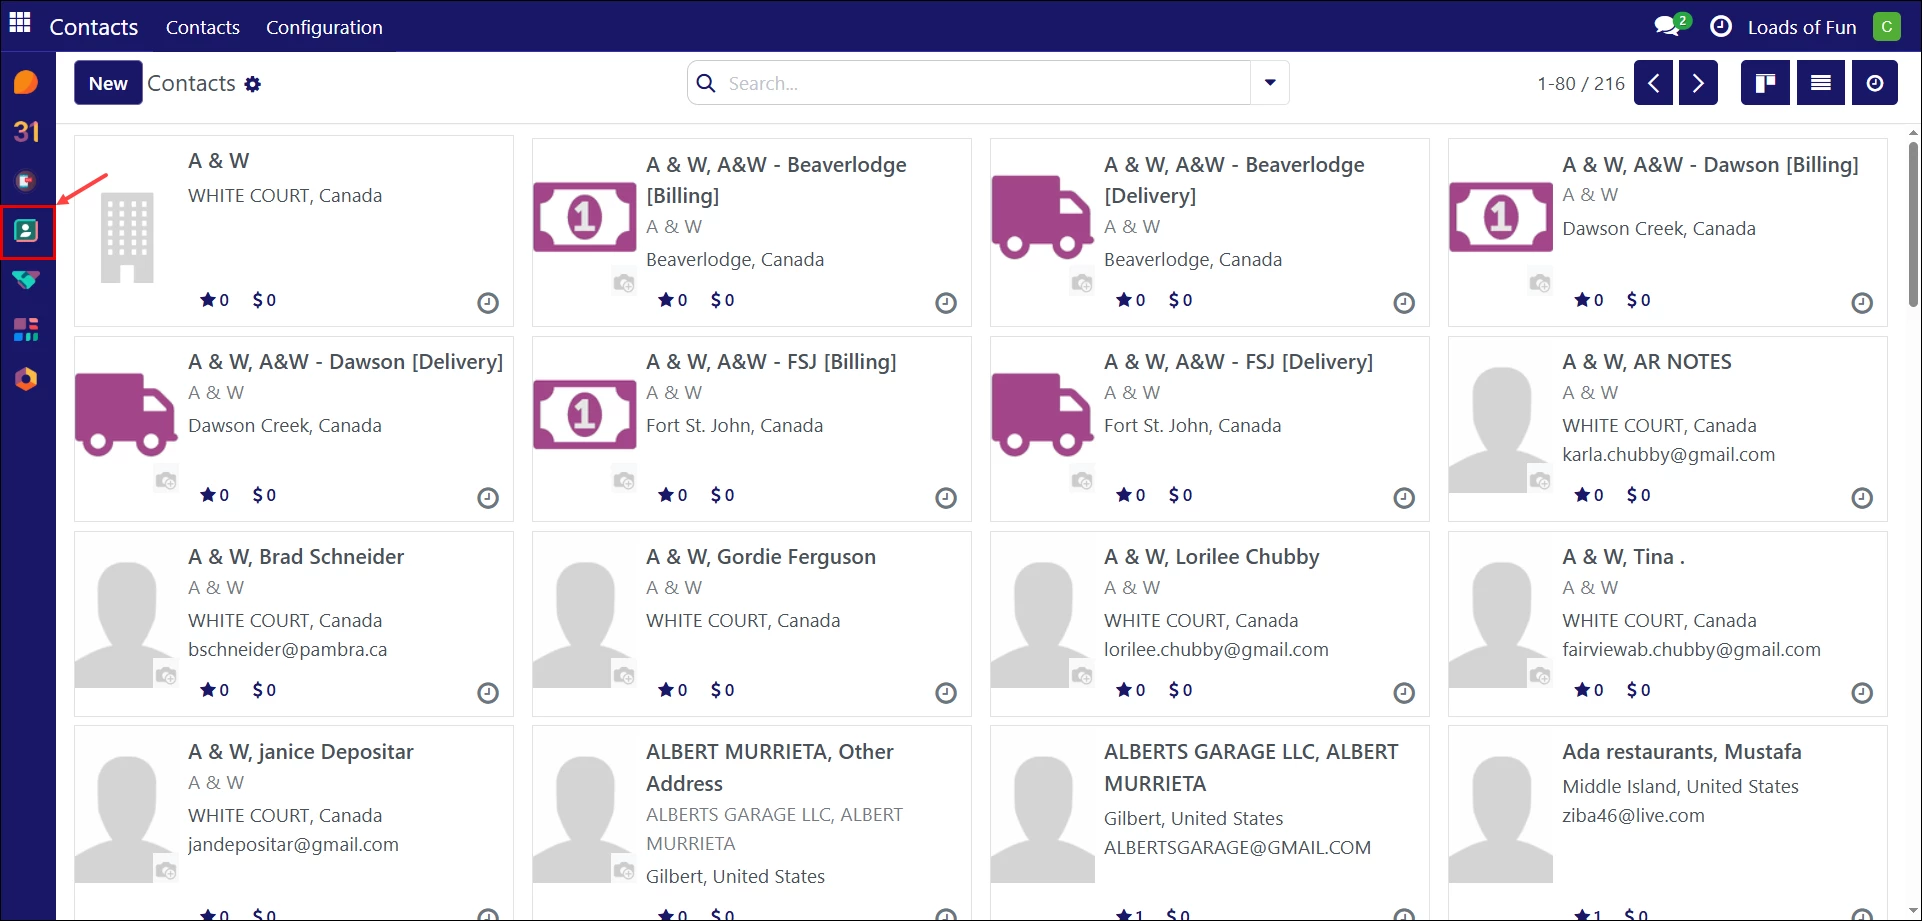
- Log in to your LinenFinder LeadFlow account and select the Contacts screen from the left-side navigation menu.
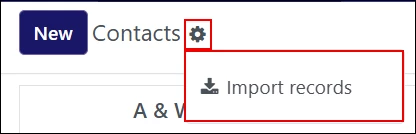
- Click the cogwheel next to “Contacts.”
- Click “Import Records.”
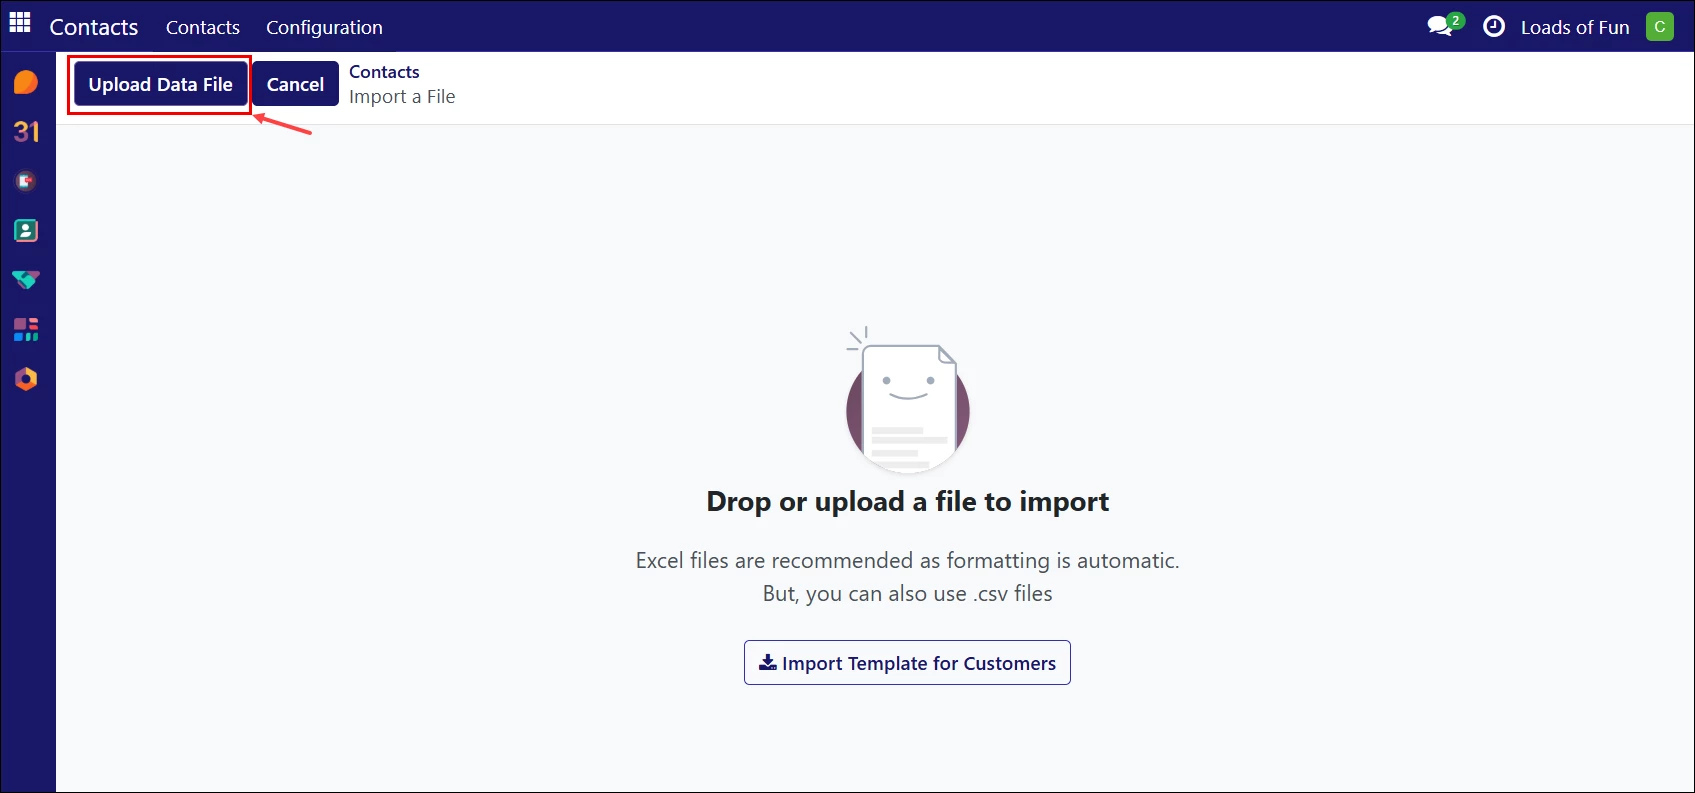
- Select “Upload Data File.”
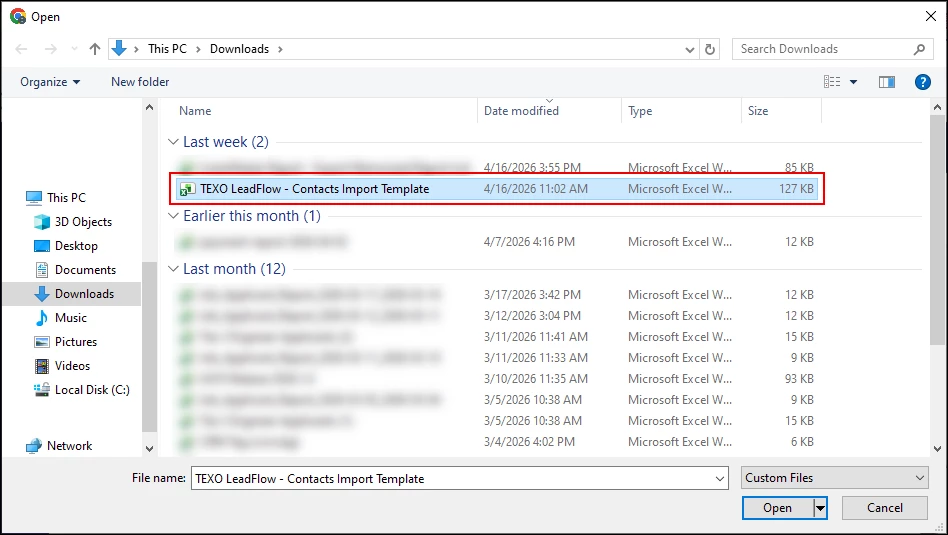
- Search for the file you would like to upload, and double-click to select it.
- Click “Test.”

- The system will check for any issues that need to be resolved.
- If you see the message: “Everything seems valid”, proceed to the next step.
- Correct any errors in the file (if you can) or reach out to your Implementation Specialist.
- Click “Import.”
- In the upper right-hand corner, you will see the number of records, followed by the message “successfully imported.”