


Overview
Tags allow you to categorize and analyze opportunities by type, such as Food & Beverage, Service, Healthcare, Uniforms, and more.
This article covers how to create tags, apply them, and filtering/searching opportunities using tags in LinenFinder LeadFlow.
Creating New Tags
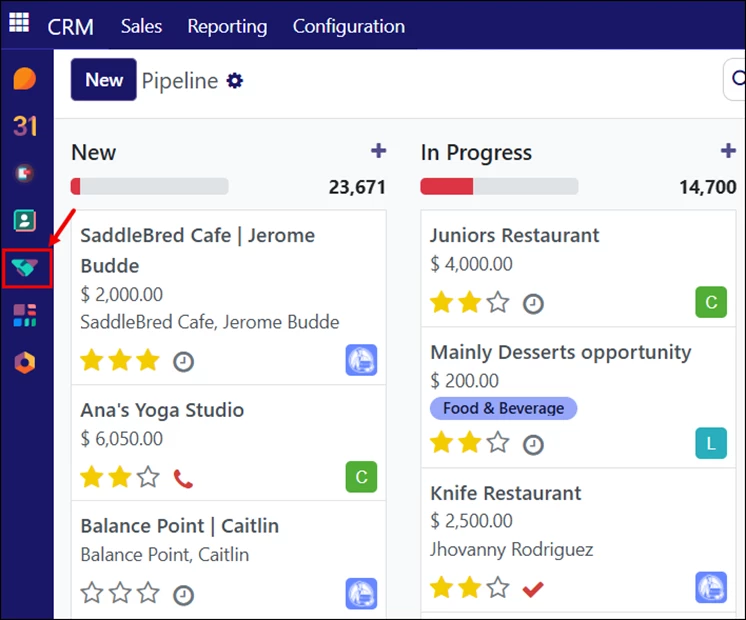
Log in to your LinenFinder LeadFlow account and open the CRM screen from the left-side navigation menu.
New tags can be created using either of the methods below.
Method 1: Configuration Menu (Sales Manager Users)
This method is useful when adding tags for the first time or when you need to create multiple tags at once.
This option is only available to Sales Manager users. For additional details on user types, see the LinenFinder LeadFlow - Creating New Users article.
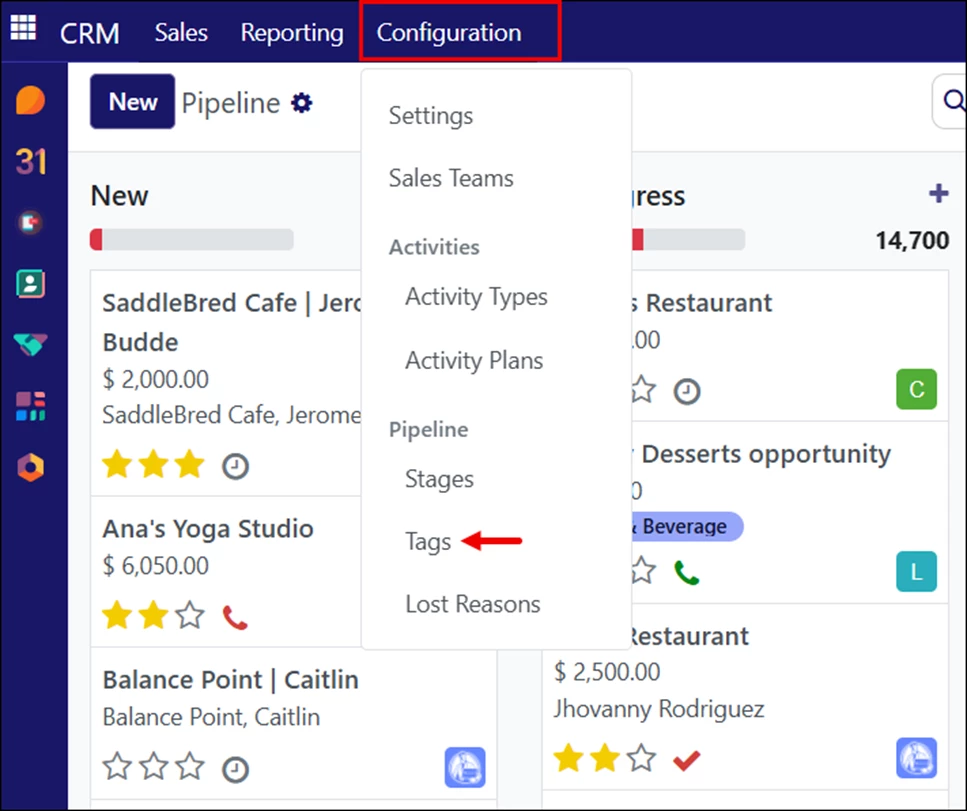
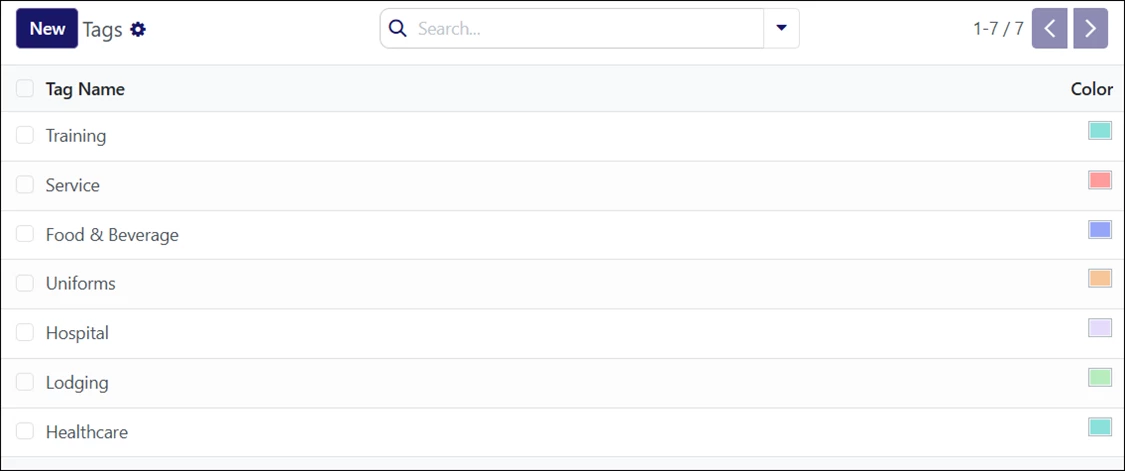
To begin, open the Configuration dropdown in the top banner and select “Tags.”
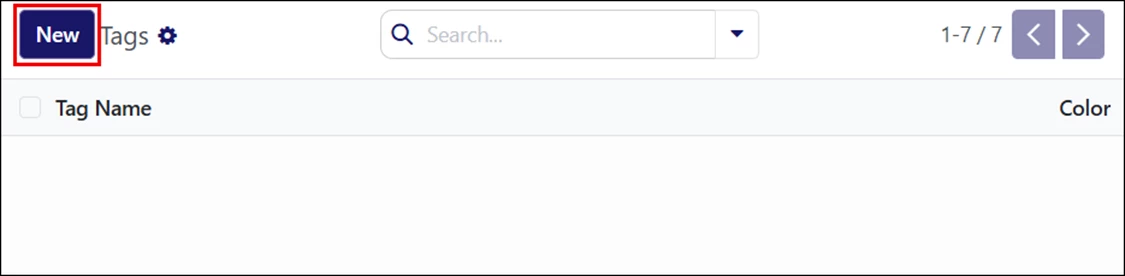
Click “New.”
Enter a tag name and select a label color.

Press Enter on your keyboard or click “New” again to continue adding tags.
Method 2: Opportunity Edit Screen
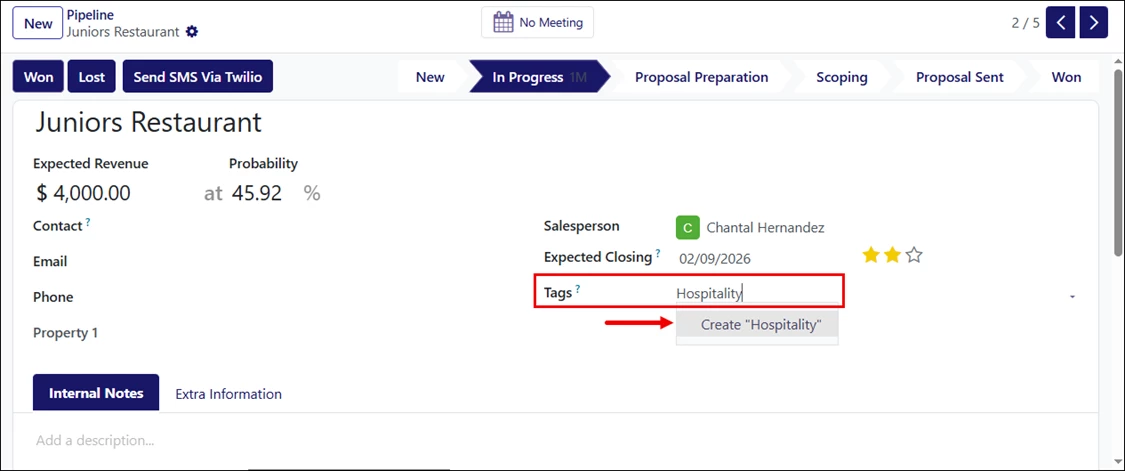
Open an opportunity from the pipeline.
In the Tags field, type the name of the new tag, then click “Create.”
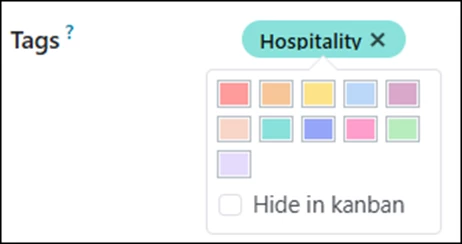
You can click the tag to change its label color if needed. Changes are saved automatically.
This same field is also used to apply existing tags to opportunities. See the section below for more information.
Applying Tags to Opportunities
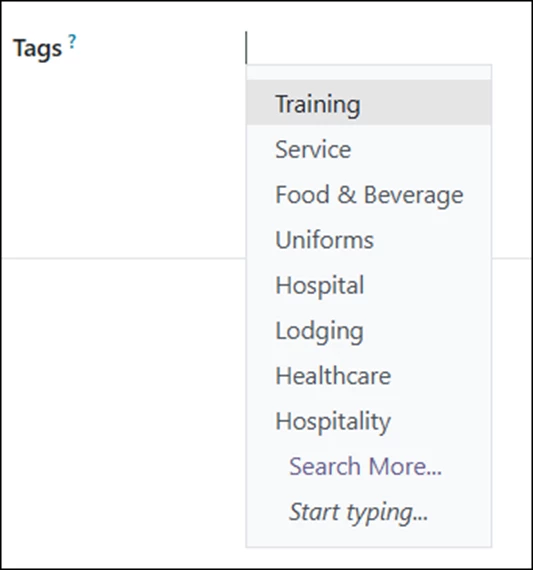
Tags can be added directly from the opportunity edit screen.
Open an opportunity from the pipeline and select the Tags dropdown. Choose one or more tags to apply.

Viewing Opportunities with Tags
You can configure the Pipeline filters to quickly display opportunities that have tags assigned.
- Open the CRM screen.
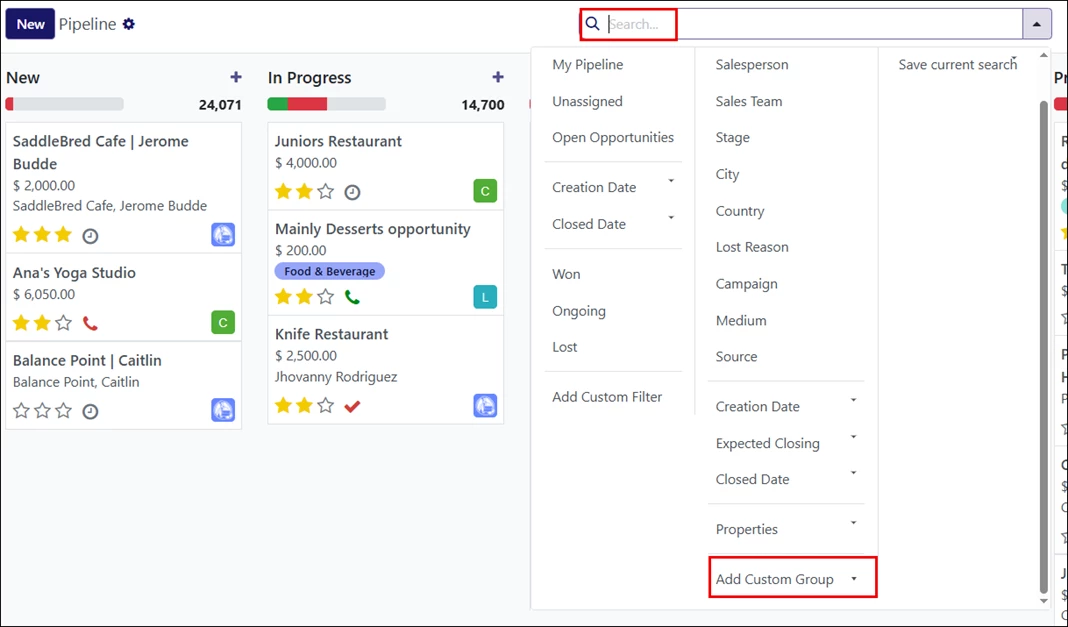
- Expand the Search dropdown.
- Scroll down and click “Add Custom Group.”
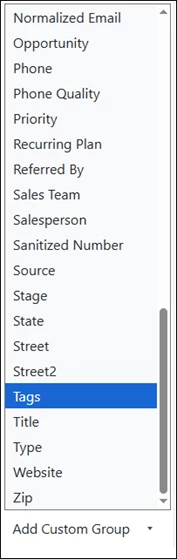
Select “Tags.”
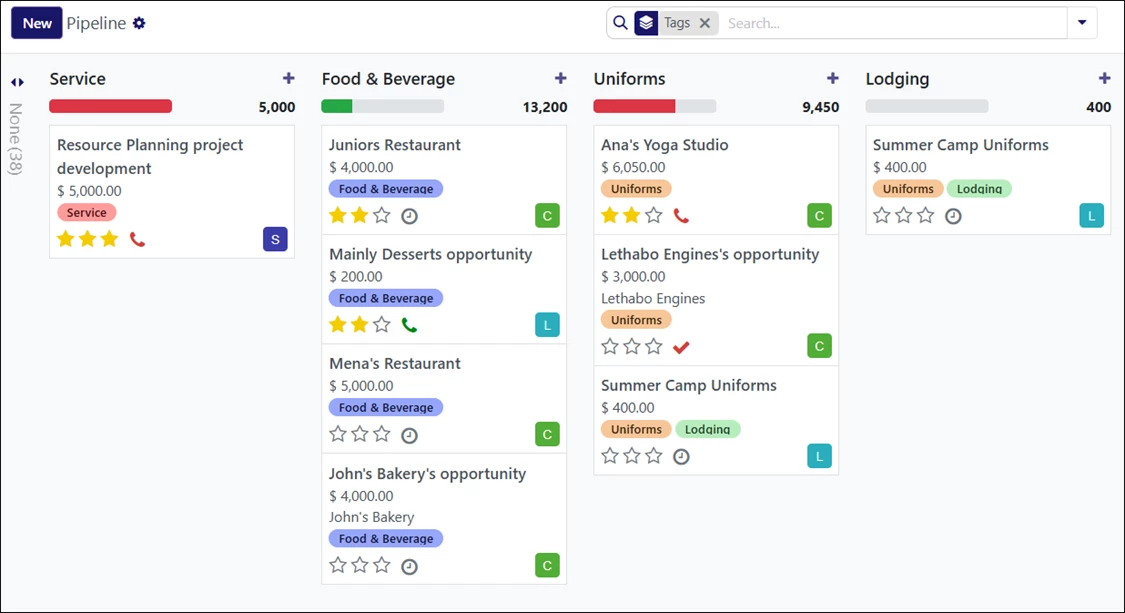
The system will display all opportunities that currently have tags assigned. Individual tags cannot be selected at this stage; this view simply shows tagged opportunities.
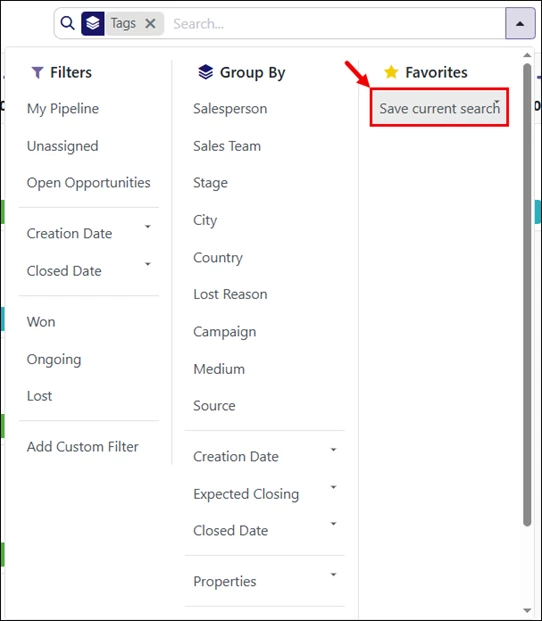
To make this filter easier to access in the future:
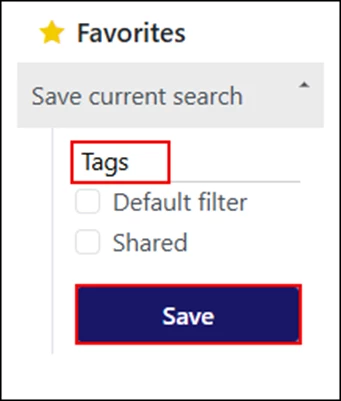
- Re-open the Search dropdown and click “Save current search.”
- Rename the search (it displays Pipeline by default).
- Enter a clearer name, such as “Tags,“ and click “Save.”
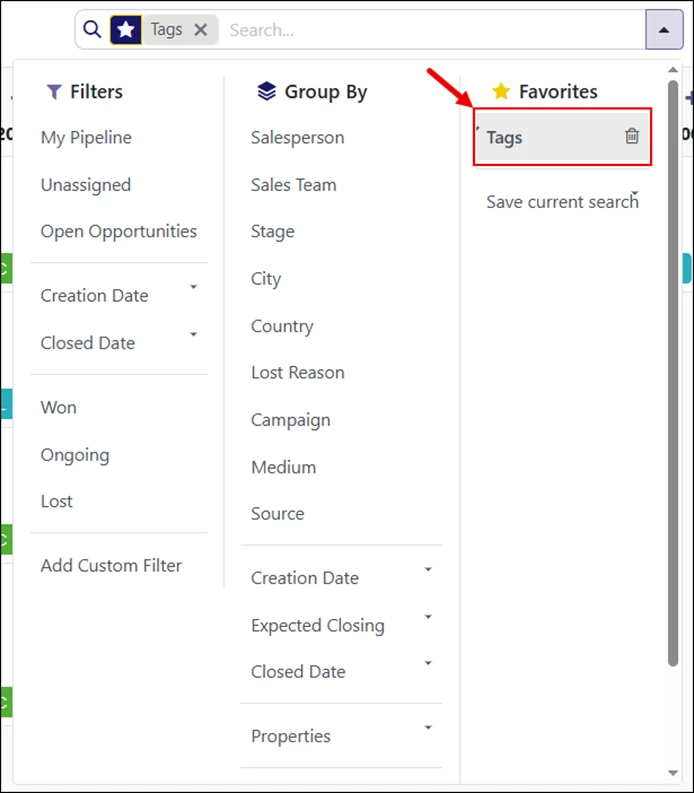
The custom filter will now appear under Favorites when opening the Search dropdown.
Filtering by Specific Tag Names
To search for opportunities with specific tags, you must create a filter rule.
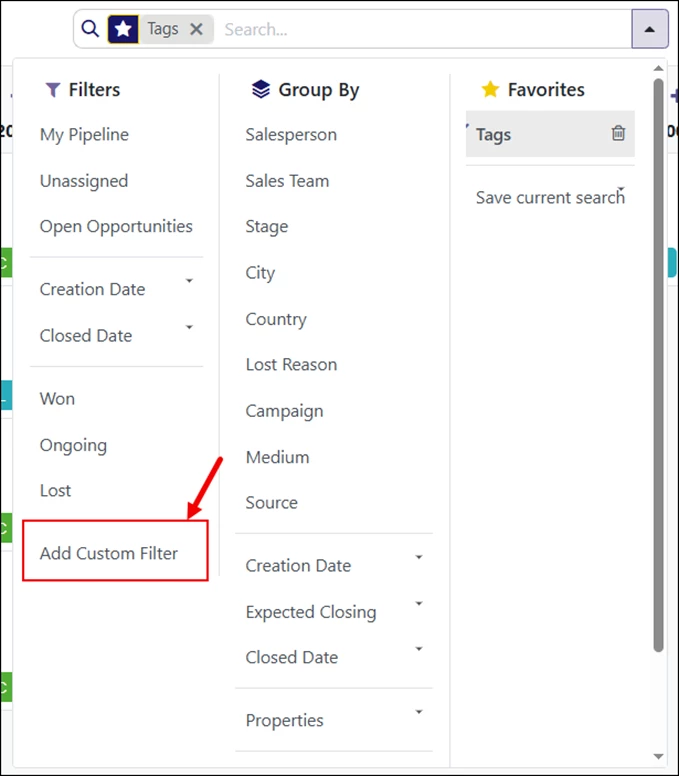
- Open the Search dropdown.
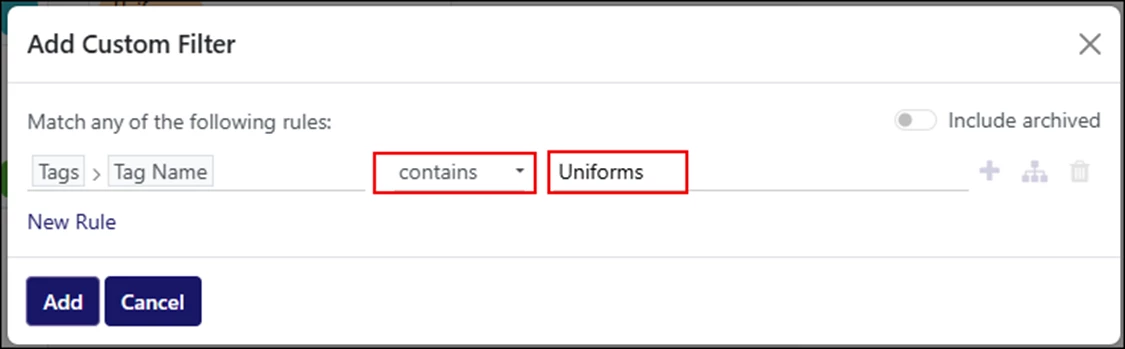
- Click “Add Custom Filter.”
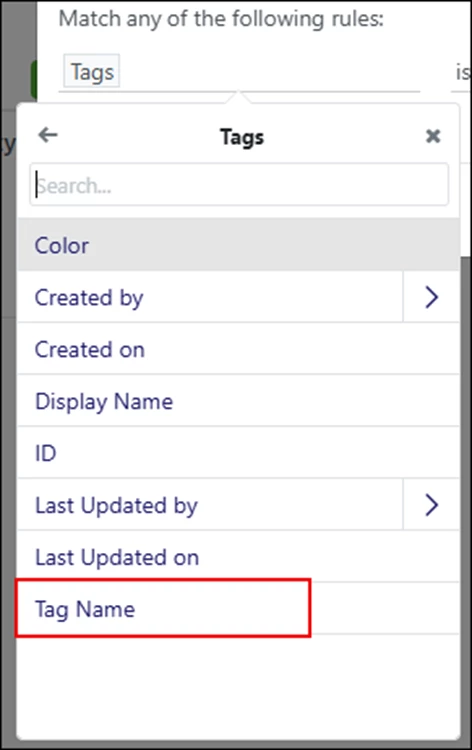
- In the filter window:
- Select the first field.
- Scroll down and expand “Tags.”
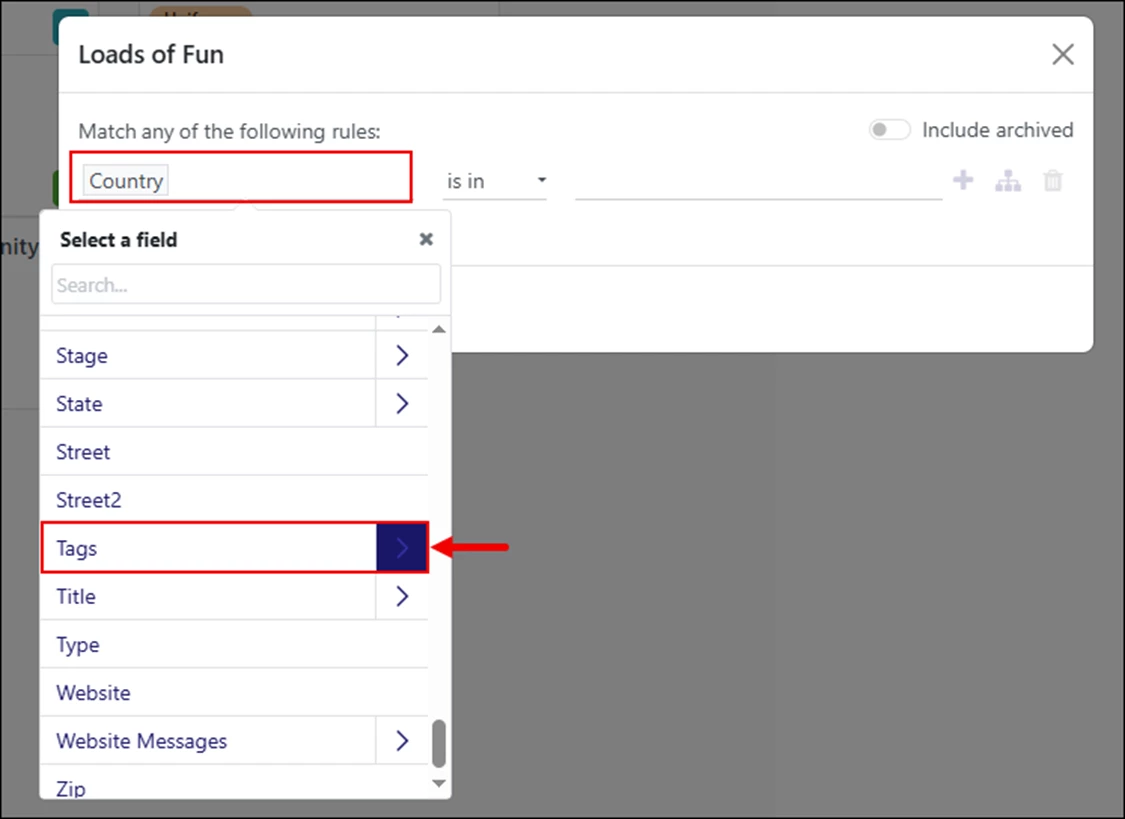
- Select “Tag Name.”
- In the second field, choose “contains.”
- In the third field, enter the tag name.
Click “Add” to save the rule.
Repeat these steps to create custom search filters for all the tags in the system.